Environement setup for Linux
For those who want to go quickly, we provide (as is and without any warranty of any kind) some Docker or installation script
For those who want to be guided, step by step, do the following instructions :
Before install and launch Gisgraphy, you must setup Java, Postgres, and Postgis. It is not, properly speaking, the installation of Gisgraphy, and if you already have Postgresql, Postgis and java installed (you needs JVM >= 1.5), you can go install Gisgraphy
Install and configure java / JVM
Install Java
Open a shell and type :
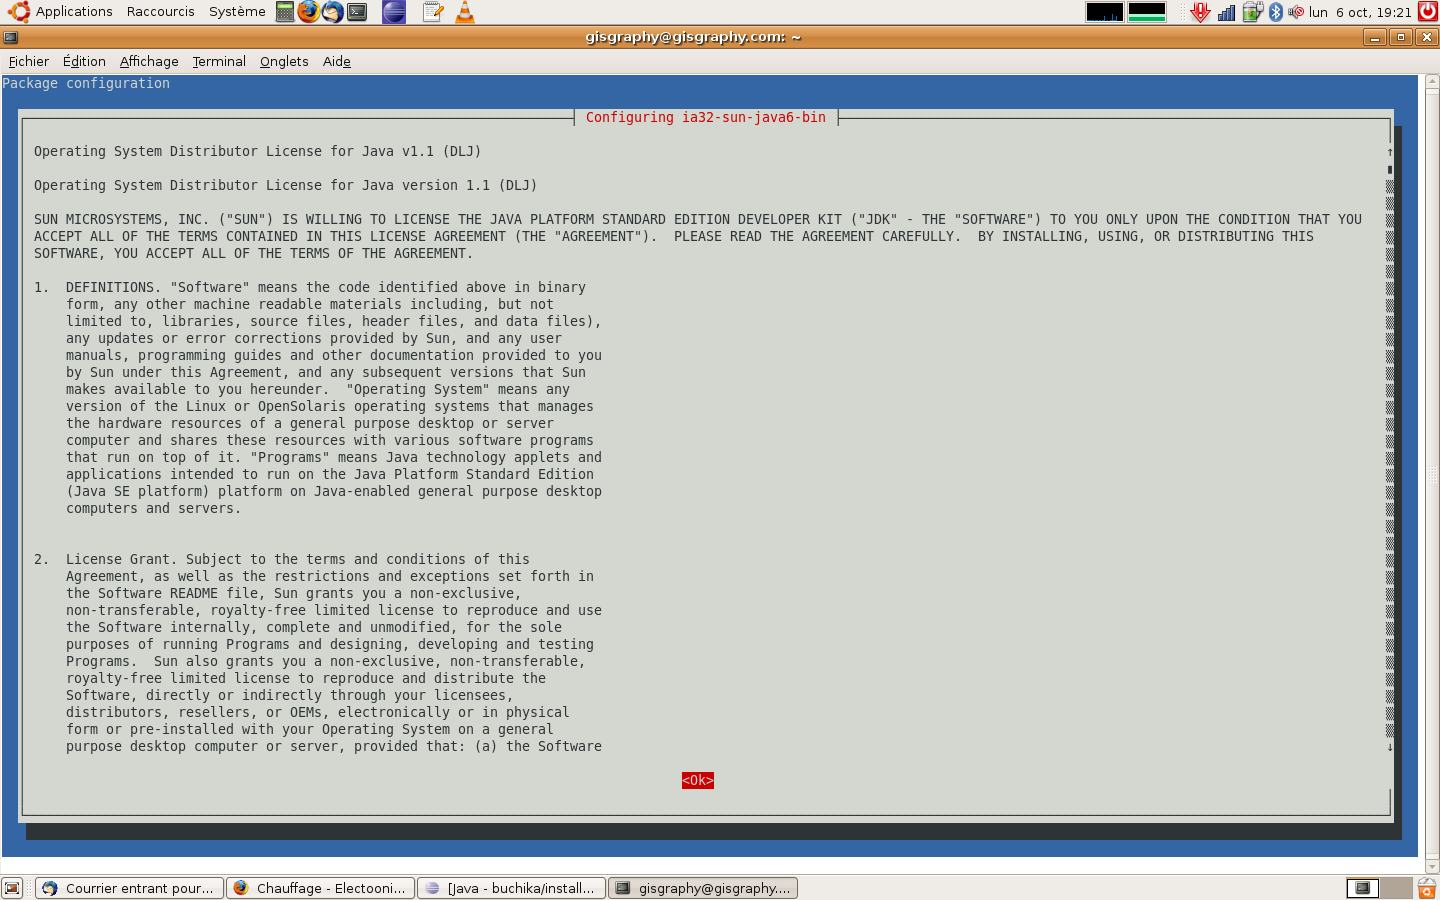
Valid screen (tab + OK) :

Accept the license (TAB to select 'yes' + OK) :
To see if Java is correctly installed, open a shell and type :
You should see :
java version "1.6.0_06"
Java(TM) SE Runtime Environment (build 1.6.0_06-b02)
Java HotSpot(TM) 64-Bit Server VM (build 10.0-b22, mixed mode)
We will now configure the Java.
Configure Java
Open a shell and type :
You may have this message if you are on a 64 bits machine : Impossible de find alternative « /usr/lib/jvm/java-7-oracle/jre/jre/plugin/i386/ns7/libjavaplugin_oji.so ". thats not important. that's because there is no applet in 64 bits.
We now need to add a JAVA_HOME environement variable :
- add this line to .bashrc in your home directoy
- execute "source ~/.bashrc" in a shell to take the changes into account.
Type "echo $JAVA_HOME" to check it is well set : /usr/lib/jvm/java-6-sun-1.6.0.06/
The JVM is now well installed
Install postgresql and postgis
Install the package
This documentation is a documentation for ubuntu / debian, it is just a start point, but you can install Postgres and Postgis for other distributions. You will find some tutorials for a lot of linux distribution or even Windows on this Openstreetmap wiki page
Open a shell and type :
It is HIGHLY recommended to have postgis 1.3.1 or greater and postgresql-8.3 for good performances....
Those packages are availables from ubuntu hardy, it is recommended to update your ubuntu distribution if you have a lesser version
Configure Postgis
Here are the command to install a Database and init the Gisgraphy database
# create the database
psql -U YOURUSER  -h YOURIP -c  "CREATE DATABASE gisgraphy ENCODING = 'UTF8';"

#create language
createlang -U YOURUSER -h YOURIP plpgsql gisgraphy

#create postgis function
psql -U YOURUSER -h YOURIP -d gisgraphy -f -f /usr/share/postgresql/YOURPOSTGRESVERSION/contrib/postgis-1.5/postgis.sql
psql -U YOURUSER -h YOURIP -d gisgraphy -f psql -U postgres  -h 127.0.0.1 -d gisgraphy -f /usr/share/postgresql/YOURPOSTGRESVERSION/contrib/postgis-1.5/spatial_ref_sys.sql

#or for postgis 2 :

psql -U YOURUSER  -h YOURIP -d gisgraphy -f /usr/share/postgresql/9.3/contrib/postgis-2.1/postgis.sql
psql -U YOURUSER  -h YOURIP -d gisgraphy -f /usr/share/postgresql/9.3/contrib/postgis-2.1/spatial_ref_sys.sql
Where YOURUSER is a postgresql user with admin rights,YOURIP is the ip adress of your server(127.0.0.1 in most case) and YOURPOSTGRESVERSION is your postgres version (9.1 in this tutorial)
For postgres 8.4 on ubuntu lucid the files are spatial_ref_sys.sql and 'postgis.sql' and they are located in '/usr/share/postgresql/8.4/contrib/'
Configure the postgres user / password
By default the postgres user can connect to postgres with the same password as the Unix one, but we'd like that postgres ask for a password and not use the UNIX one
- Change postgres (unix) user :
- Log to Unix with user 'postgres' :
- Check postgresql conf :
- Define the postgres (postgresql) user's password
- Update postgres conf
- Restart postgres
and give the new password you've just type
and edit it in order to have (at least) those 2 lines (at the beginning of the file) :
local  all     all                                        ident sameuser
host   all     all    127.0.0.1         255.255.255.255   ident sameuser
Connect to postgres to change the postgresql password :
Where 'YOURPASSWORD' is the password you wish to use for the user postgres
Now you've changed the password for your postgresql user, we have to tell postgresql to use this password
Open a shell and Type :
And edit in order to have (at least) those two lines :
local  all     all                                        password
host   all     all    127.0.0.1         255.255.255.255   password
We must restart postresql to take our changes into account :
Close your postgres 's Linux session, type :
Restart postgres :
In order to know if Postgis is correctly install, open a PostgreSQL connection or PgAdmin and type :
select version ();orSHOW server_version;. It will give you the PostgreSQL versionselect postgis_full_version () ;It will give you the Postgis version
Define Linux settings
Unix system define a maximum number of files that can be open. solr open a large number of files. to avoid message like "Too many open files" you must increase this limit. open a shell and type
sudo ulimit -n6000
That will set the maximum number of open files to 6000.
Sometimes this is not enough. and you have to edit the /etc/security/limits.conf file and add the two following lines :
* hard nofile 20000
* soft nofile 20000
Then close and re-open your unix session to take changes into account.
ulimit -aH in a shell to check if the value has been set
And now...
Now that you environement is setup, you can go to the Gisgraphy installation guide